Written & Video Application Instructions
Recommendation:
If you visit the link provided on the printed instructions leaflet that came with your product, it will automatically take you to the correct section.
Choose your material:

Section 1. Non-Glass Screen Protectors (Flat Screen device fit ONLY)
Use these instructions if your product packaging is red and you ordered one of the following material editions:
- Crystal Clear Ultra Tough
- Matte Clear (Ultra Matte)
- Matte Clear (Satin HD)
- Back (i.e. Rear) protectors
----------
DO NOT USE these instructions if you ordered a TPU edition protector (which also uses red packaging).
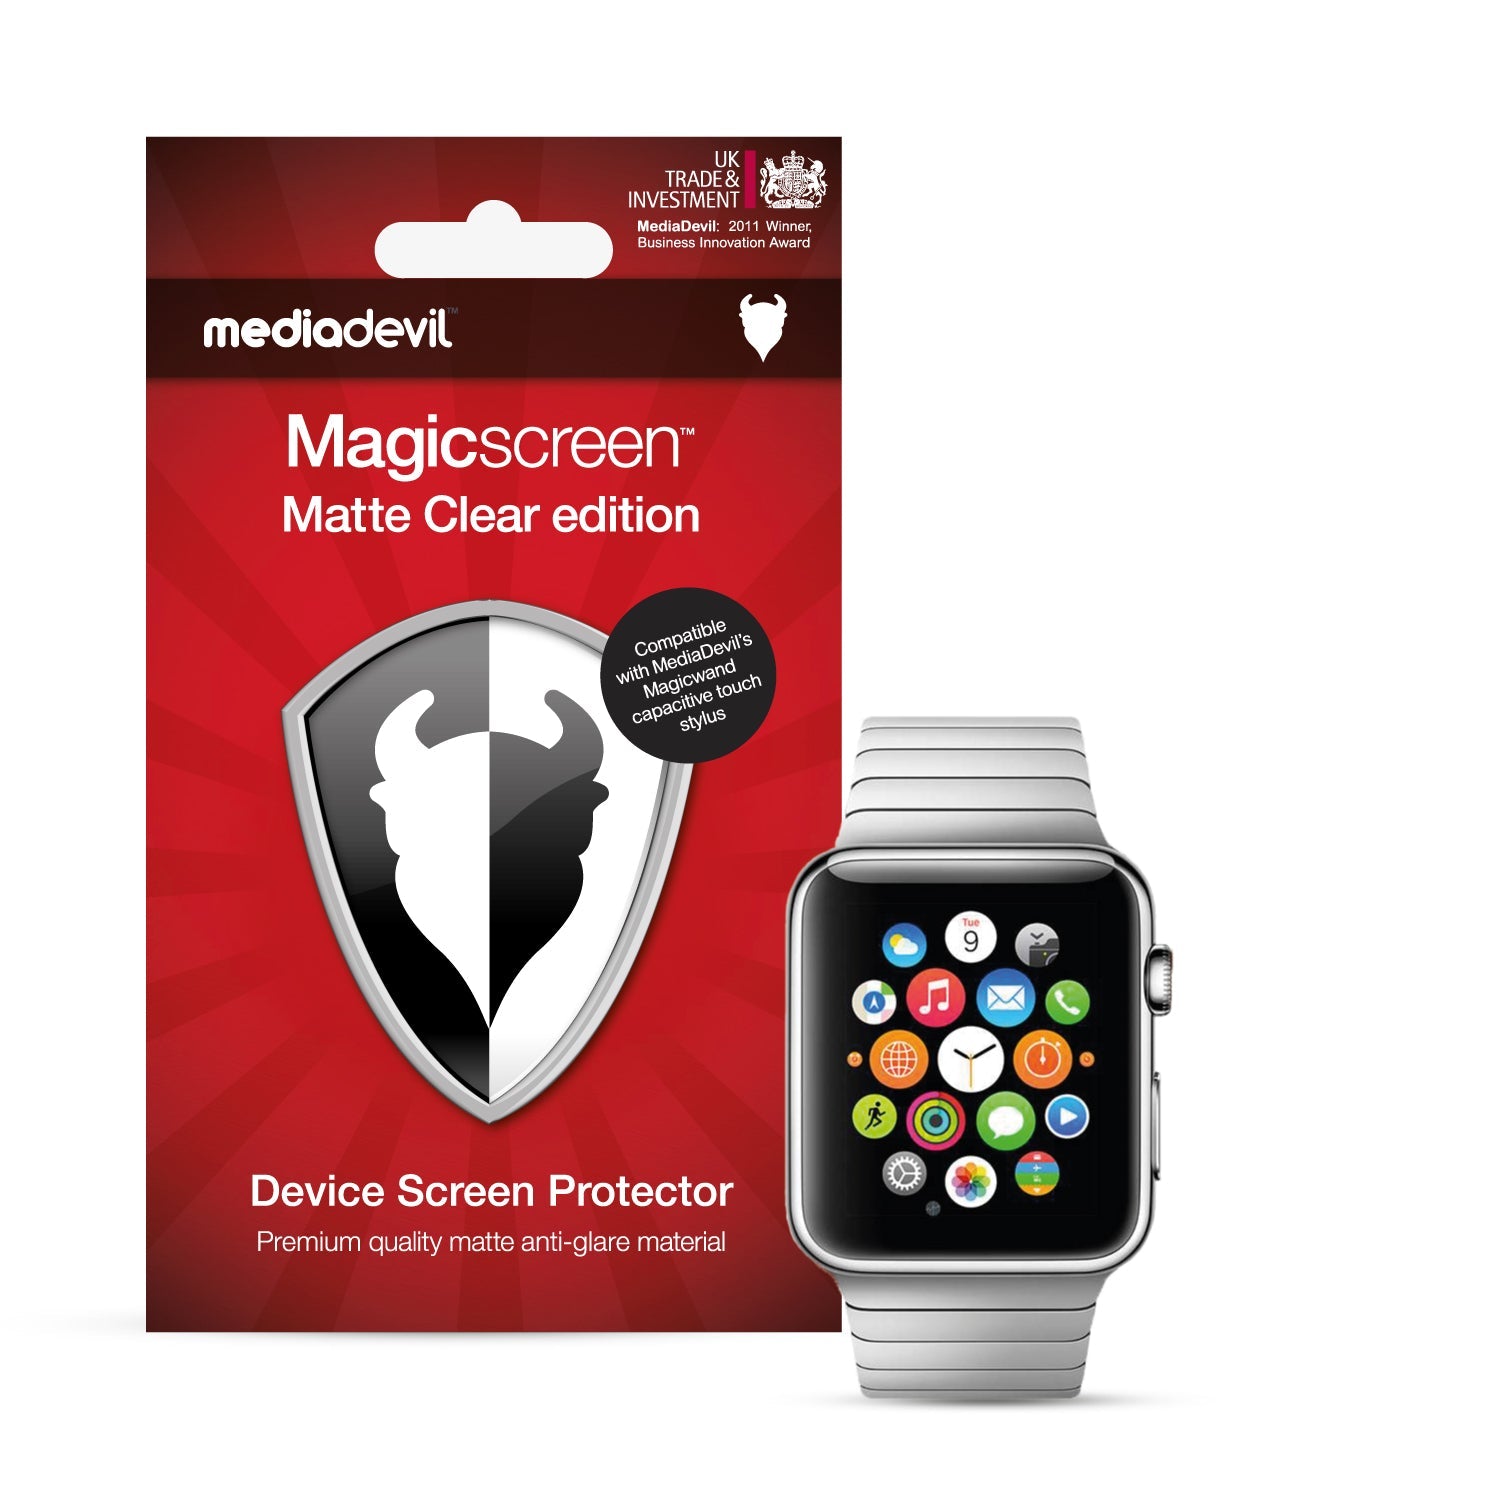
Section 2. TPU curved-screen Screen Protectors (Smartwatches ONLY)
Use these instructions only if your product packaging is red and you ordered a TPU edition protector for a smartwatch.
----------
We only use our TPU material for devices where the backlist area of the screen is curved, which means the curved portion must be protected.
----------
We mostly use this material for smartwatches.
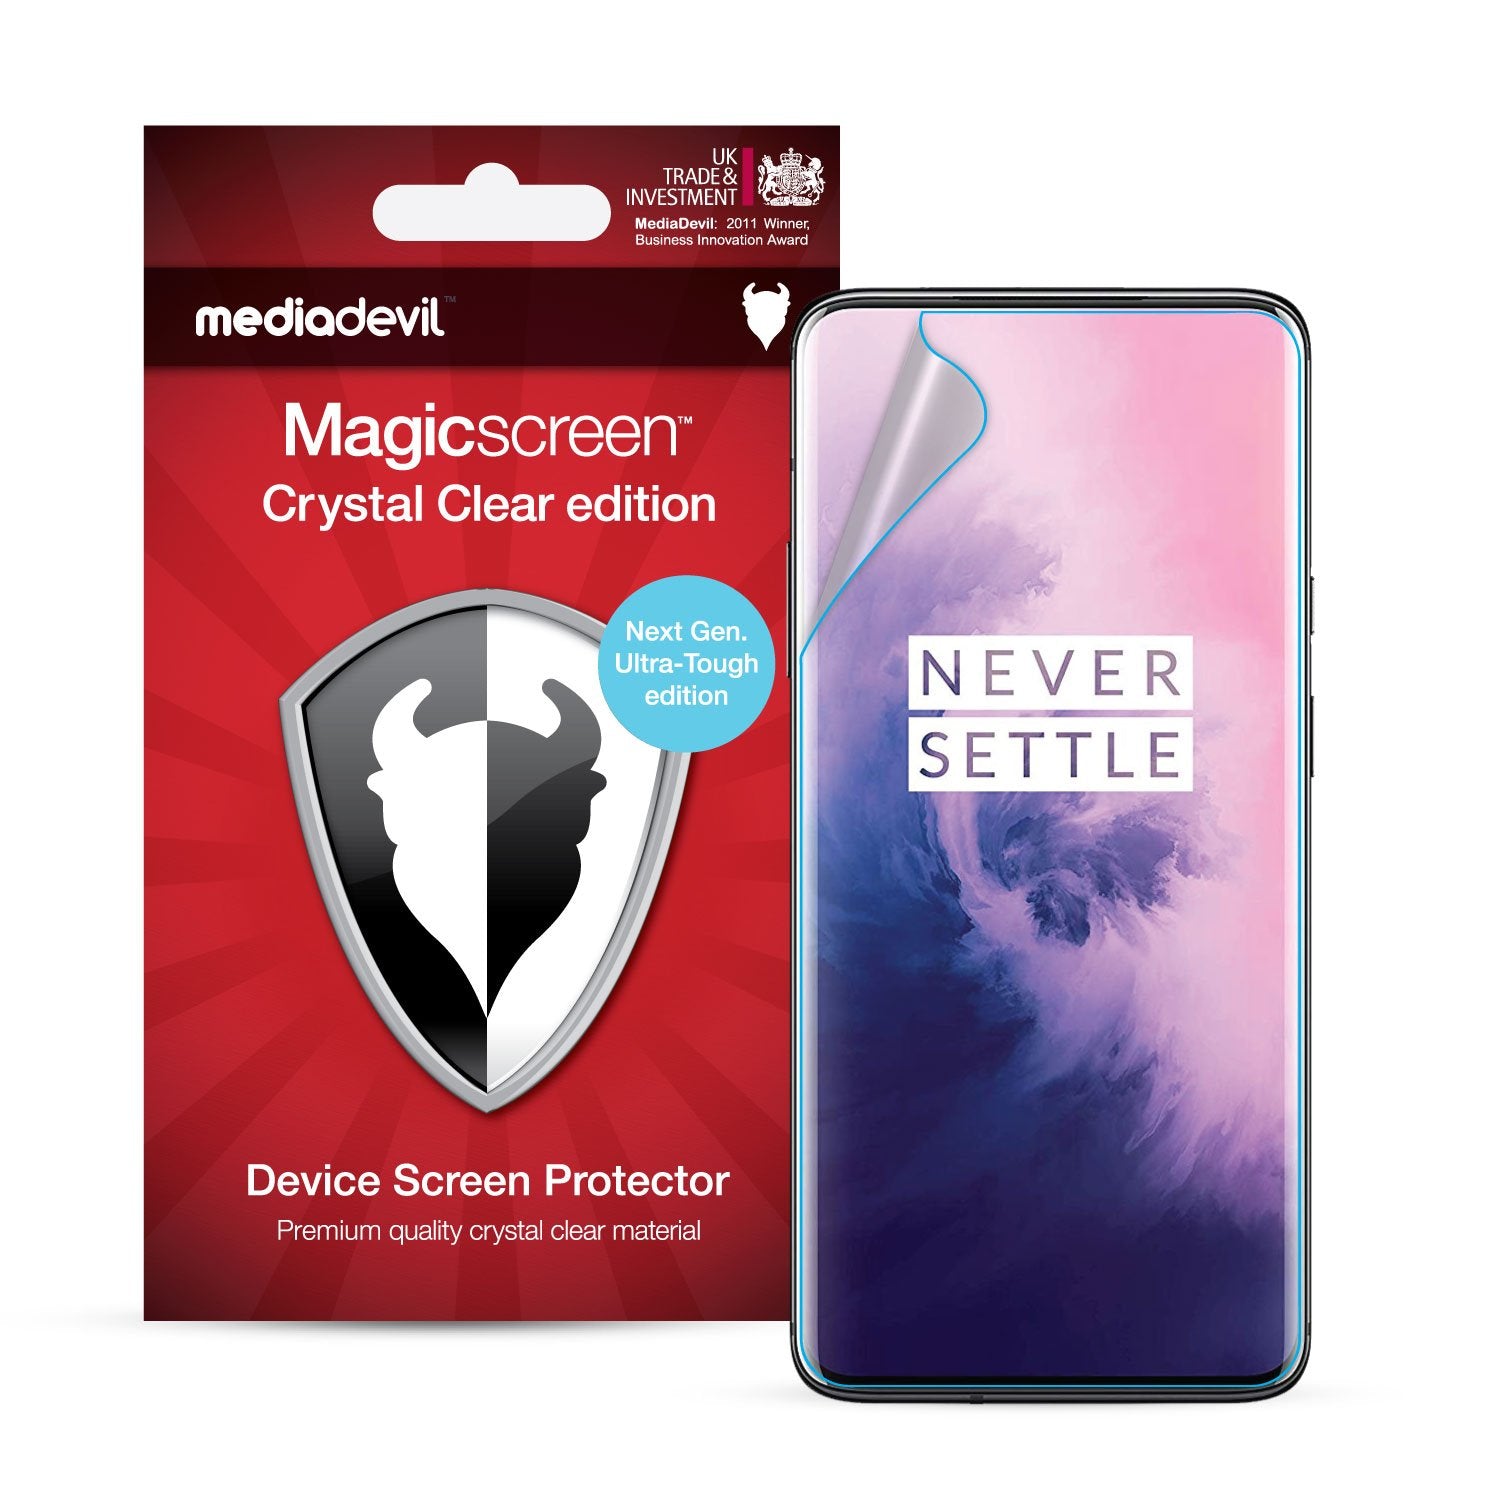
Section 3. TPU curved-screen Screen Protectors (Smartphones ONLY)
Use these instructions only if your product packaging is red and you ordered a TPU edition protector for a smartphone.
----------
We only use our TPU material for devices where the backlit area of the screen is curved (like the example device in the picture), which means those curved portions must be protected.
----------
Only a few android devices use this material.
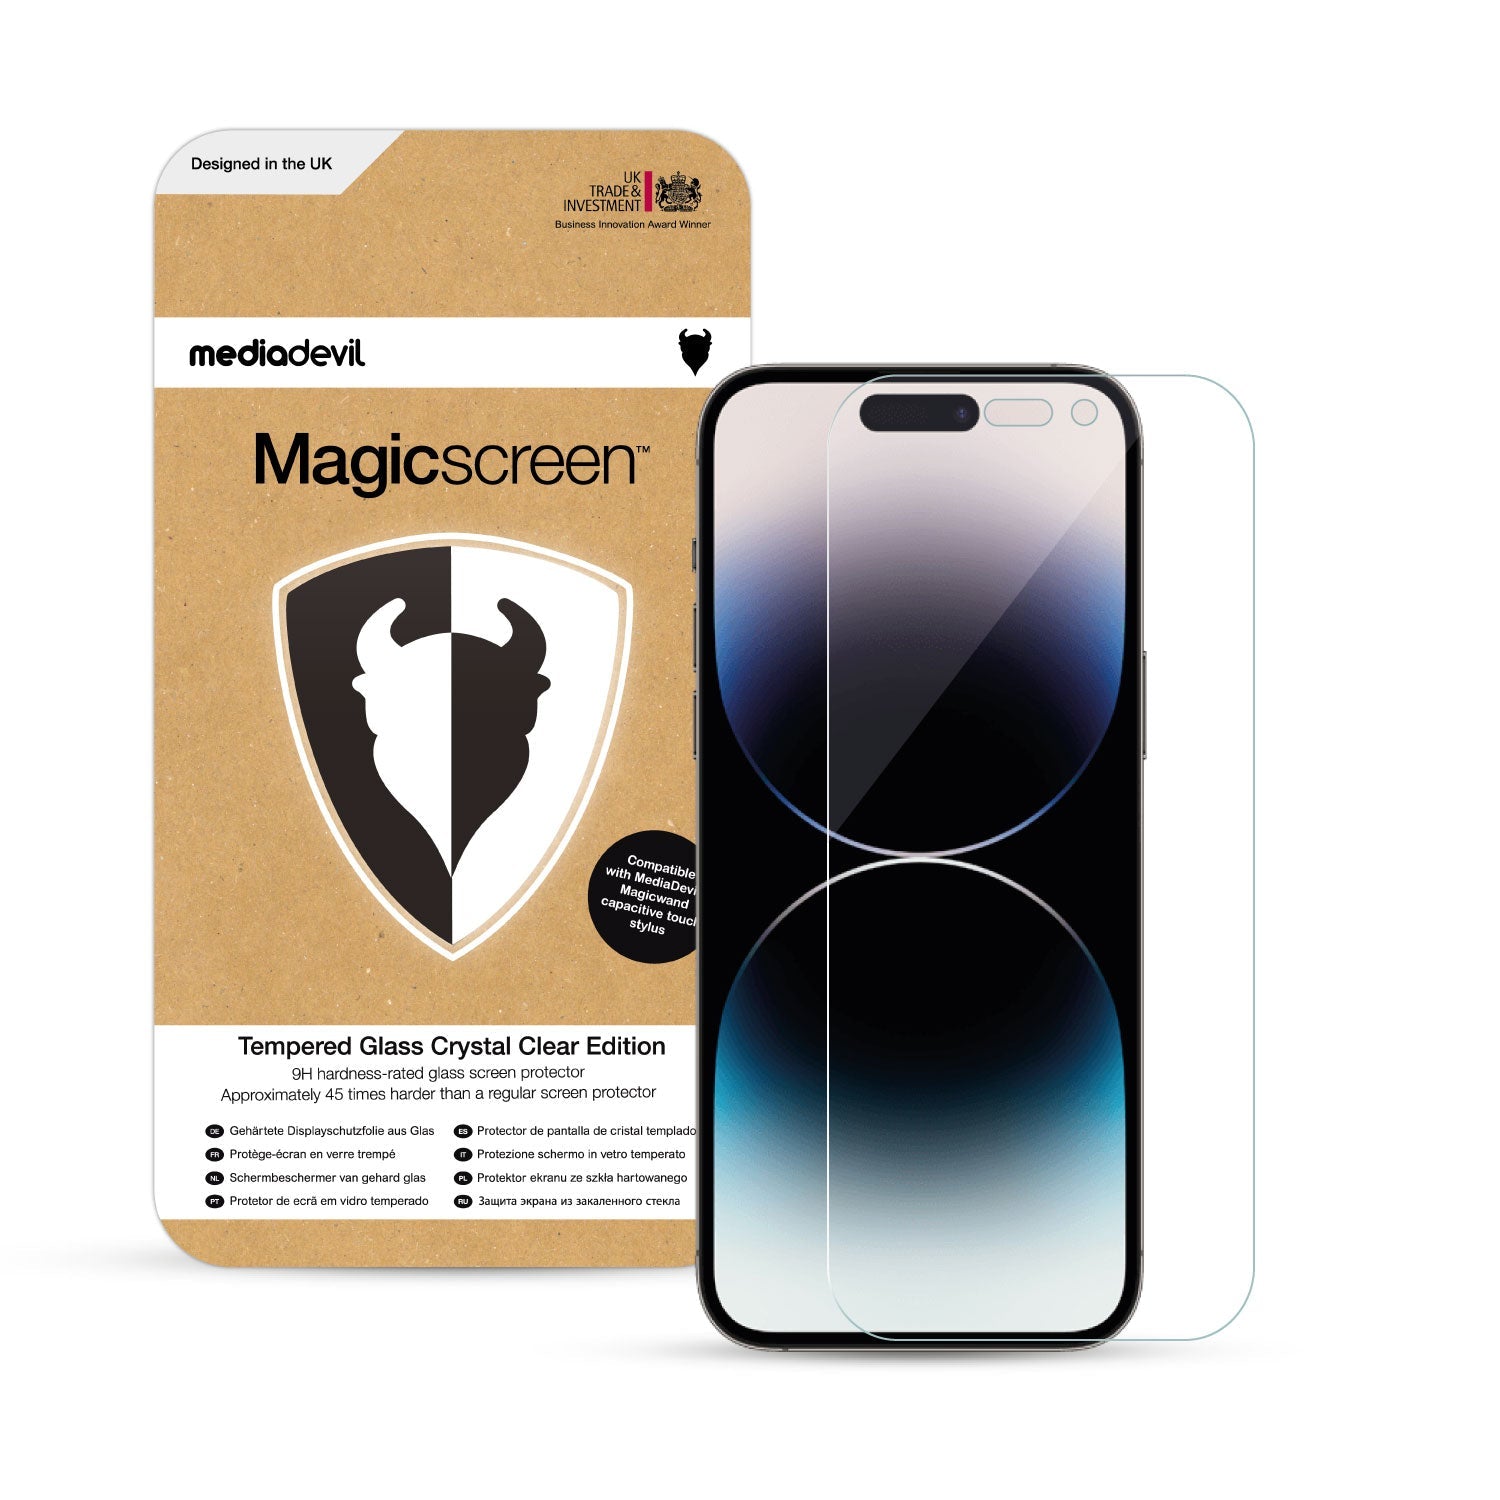
Section 4. Glass Screen Protectors [WITH Application Frame]
Glass protectors for ONLY these devices:
- Apple iPhone Series-X
- Apple iPhone Series-11 through to Series-17 (inclusive).
----------
These devices require their own specific video and written instructions.
Section 5. Glass Screen Protectors [WITHOUT Application Frame]
Glass protectors for all devices EXCEPT:
- Apple iPhone Series-X
- Apple iPhone Series-11 through to Series-17 (inclusive).
----------
We repeat: do not use these instructions if you have a device mentioned above.

6. Coming Soon
Section 1. Non-Glass Screen Protector Application Instructions
- These instructions are for the following materials.
[Red-coloured packaging]
- Crystal Clear Ultra Tough
- Matte Clear (Ultra Matte)
- Matte Clear (Satin HD)
- Back (i.e. Rear) protectors
[Blue-coloured packaging]
- Eyecare Anti-Blue
- If you have a TPU screen protector (which also uses red packaging), you must visit Section 2 (smartwatches & fitness bands) or Section 3 (smartphones), as that material requires a very different method of application.
Video Instructions
Before you begin, first view our application tutorial video (above).
- Clean your screen thoroughly with the microfibre cloth. You may also wish to use a small amount of anti-static screen cleaner (such as MediaDevil's Magicpotion solution), or a few drops of warm water.
- Peel a small portion of the first disposable film layer using the 'no.1' tab and align the protector carefully on the screen of your device.
Please note: Many phone screens have raised or curved edges, so it is important to ensure that the protector is properly aligned to avoid lifting at the edges or corners.
- Continue to peel the first disposable layer away, smoothing down the protector with the provided card as you go. If a bubble appears, stop applying!
> If the bubble is a result of trapped air, lift the protector and then reapply it, using slightly more pressure.
> If the bubble is a result of trapped dust, carefully remove the dust by dabbing it with any of the stickers provided, as demonstrated in the video. If the protector is already fully applied, lift it using one of the stickers before removing the dust.
- Once the protector is fully applied, smooth out any remaining air bubbles with the card, and then peel away the second disposable film layer using the 'no.2' tab.
If you need to lift your protector for any reason, always use one of the stickers provided or a piece of good quality adhesive tape. This prevents damage to the edges of the protector, and ensures that no fingerprints are transferred to the adhesive surface, as these are nearly impossible to remove.
Section 2. TPU Smartwatch Screen Protector Application Instructions
- TPU is a very soft, flexible material that can cover the extremely curved edges of device screens. Other materials are too rigid to cover screen curves.
- This tutorial is only for smartwatch devices and fitness bands (not for phones). If you have a phone, please see the instructions in Section 3 below this one.
- Clean your screen thoroughly using the microfibre cloth and dust stickers. You may also wish to use a small amount of anti-static screen cleaner (such as MediaDevil’s Magicpotion spray), or a few drops of warm water.
- Pull the ‘no. 1’ sticker tab downwards to peel away the first disposable layer from the screen protector and expose its adhesive underside. It is important to ensure that the protector is properly aligned to avoid lifting at the curved screen edges.
- Carefully lower the protector onto the screen of your device. It is important that it be completely level when applied, with the entire protector contacting the screen at the same time. If you misalign the protector and need to reposition it, lift it very carefully to avoid overstretching the material.
- Press the centre of the protector with one finger, and then, without applying excessive force, rub the screen in an outwards motion to remove large air bubbles.
- Peel away the second disposable layer using the ‘no. 2’ tab, and then, without applying excessive force, rub the screen in an outwards motion to allow the protector to adhere to the curved screen edges.
- Due to the nature of this particular material, it is quite possible that some air bubbles may still remain, and they will disappear within 1-2 days. Do not rub harder, as it will damage the (slightly elastic) material.
Please Note:
Air bubbles will disappear; however, dust bubbles can never completely disappear.
Section 3. TPU Smartphone Screen Protector Application Instructions
- TPU is a very soft, flexible material that can cover the extremely curved edges of device screens. Other materials are too rigid to cover screen curves.
- This tutorial is only for phone devices (not for smartwatches). If you have a smartwatch, please see Section 2 above this one.
Video Instructions
Before you begin, first view our application tutorial video (above).
- Clean your screen thoroughly using the microfibre cloth and dust stickers. You may also wish to use a small amount of anti-static screen cleaner (such as MediaDevil’s Magicpotion spray), or a few drops of warm water.
- Thoroughly wet the screen of your device (avoiding any exposed speaker holes).
- Peel a small (approximately 1-2 cm) portion of the first disposable film layer using the ‘no. 1’ sticker tab, then thoroughly wet the exposed adhesive underside with water, using a standard tap or a spray. Hold the ‘no.2’ sticker tab to avoid touching the adhesive.
- Carefully align the protector onto the screen of your device without applying pressure. If you need to slightly reposition the protector, it can be glided over the screen thanks to its wet underside. The protector must be properly aligned to avoid lifting around any curved screen edges.
- Continue to peel the first disposable layer away, smoothing down the protector with the soft edge of the supplied smoothing card at the same time in one smooth motion. The protector will not adhere to the curved screen edges at this moment.
- Without applying excessive force, use the smoothing card to smooth the flat area of the screen in an outwards motion to remove bubbles.
- Peel away the second disposable layer using the ‘no. 2’ tab, then use the cloth to remove larger liquid bubbles from the protector and to adhere the protector to the edges of the curved screen. At this stage, some bubbles may still remain.
- After 24 hours some remaining bubbles may have disappeared. Use the cloth every 24 hours until all have disappeared. Do not rub harder, as it will over-stretch the material. Air and liquid bubbles will disappear; however, dust bubbles can never completely disappear.
Section 4. Tempered Glass Screen Protector (WITH Installation Frame) Application Instructions
- This tutorial is only for glass protector packs with which we provide an alignment installation frame.
- (Only these iPhone device series: the Apple iPhone X-Series and Apple iPhone Series 11 to Series 17), as these devices require their own specific video and written instructions.
- For all other devices, see Section 5 below this one.
Video Instructions
Before you begin, first view our application tutorial video (above).
- Clean your screen thoroughly, using the wet non-abrasive cleaning pad (packet '1') and then the lint-free drying pad (packet '2').
- Install the alignment frame by placing it on top of your phone and then pushing downwards until it is securely fixed.
- Use the dust removal stickers to remove any remaining dust particles.
- Pull the 'no. 1' sticker tab downwards to peel away the first disposable film layer from the screen protector and expose its adhesive underside.
- Holding the sides of the glass protector, carefully place it into the alignment frame, and onto the screen of your device. It is important that it be completely level when applied, with the entire protector making contact with the screen at the same time.
- Press the centre of the protector with one finger, and allow the rest of the protector to adhere itself to the screen, as shown in the video. If any air bubbles appear, smooth them out by rubbing firmly with your finger.
Allow 1-2 days for any stubborn small air bubbles remaining to disappear. Rub the screen every few hours to speed this up. Dust bubbles will be minimised using this method, but will never completely disappear.
Please note: This glass protector is anti-shatter. If dropped with enough force, it will crack, but will not shatter into fragments and will still be safe to use. The tempered glass absorbs shock, protecting the screen of your device from damage.
Section 5. Tempered Glass Screen Protector (WITHOUT application frame) Application Instructions
- This tutorial is for all devices except the Apple iPhone X-Series and Apple iPhone Series 11 to Series 17.
- [Those iPhone device series have their own specific video and application instructions, provided above in Section 4].
Video Instructions
Before you begin, first view our application tutorial video (above).
- Clean your device screen thoroughly, using the wet non-abrasive cleaning pad (packet '1') and then the lint-free drying pad (packet '2').
- Use the dust removal stickers to remove any remaining dust particles.
- Pull the 'no. 1' sticker tab downwards to peel away the first disposable film layer from the screen protector and expose its adhesive underside.
- Holding the two positioning tabs of the second (and final) disposable layer, carefully lower the protector onto the screen of your device. It is important that it be completely level when applied, with the entire protector making contact with the screen at the same time.
- Press the centre of the protector with one finger, and allow the rest of the protector to adhere itself to the screen, as shown in the video. If any air bubbles appear, smooth them out by rubbing firmly with your finger. Peel off the second disposable layer to complete the application.
Allow 1-2 days for any stubborn small air bubbles remaining to disappear. Rub the screen every few hours to speed this up. Dust bubbles will be minimised using this method, but will never completely disappear.
Please note: This glass protector is anti-shatter. If dropped with enough force, it will crack, but will not shatter into fragments and will still be safe to use. The tempered glass absorbs shock, protecting the screen of your device from damage.
Followed our troubleshooting advice and still experiencing difficulties?
We're here to help.